Your Availability calendar
How to set up your Availability
Once you have created your lessons, you will want to attach them to the calendar so your students know when you are available and when you are not.
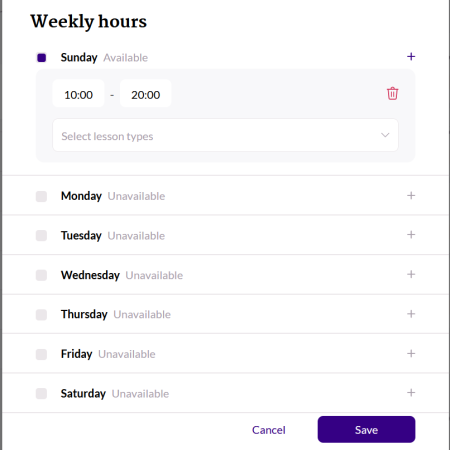
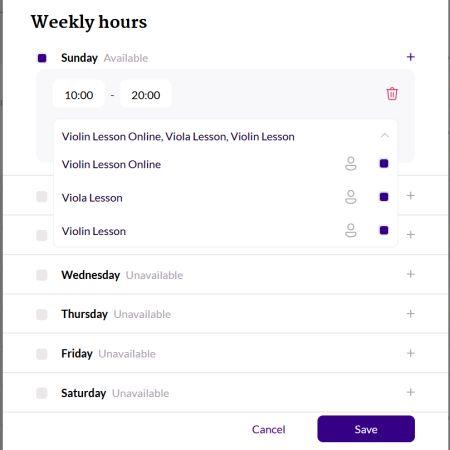
Go to your Availability page and click on Edit. A pop-up will appear that looks like this:
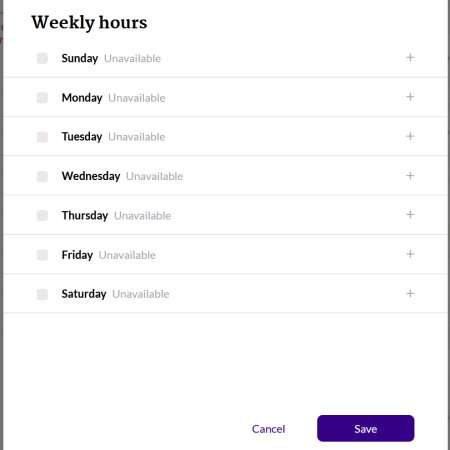
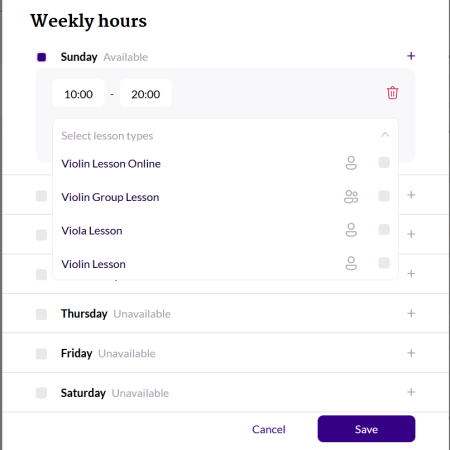
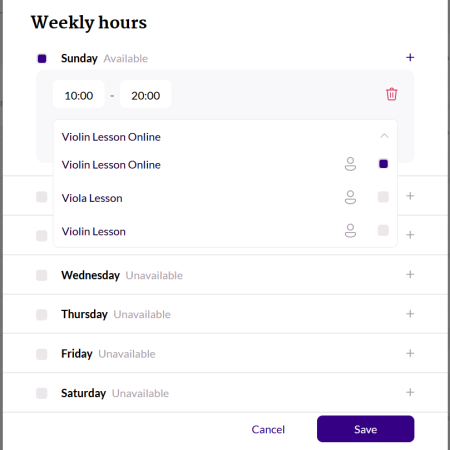
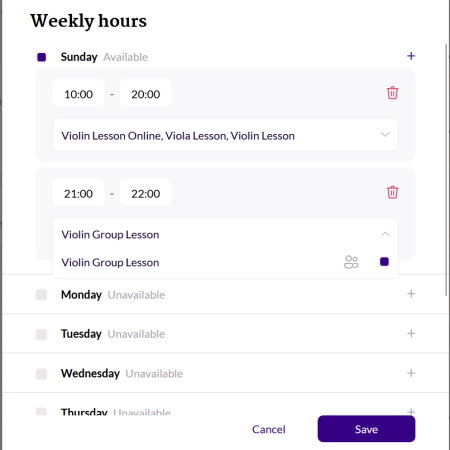
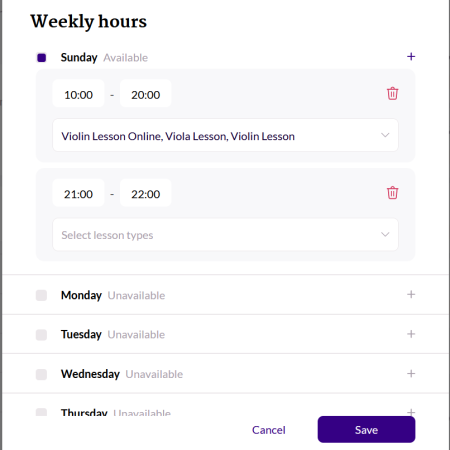
Once you see the popup screen you can select on the left a day you are available to teach. A menu will appear that will give you the opportunity to define a time slot. Once that is set, attach all lesson types that you would like to connect to that time slot from the drop list ‘Select lesson types’.
You can add as many lessons as you like to each time slot, but you cannot select both private and group lessons for the same time slot. This is to avoid students choosing group lessons in the hope of getting a cheap private lesson.
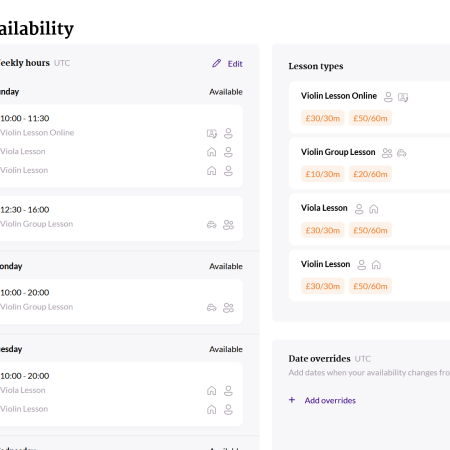
The picture gallery below shows all the steps I have just discribed. When you click ‘Save’ you will see the overview of all your lessons on your availability page. Small icons show the location and if a lesson is for individuals or groups.
What are 'Availability overrides' and how to use them?
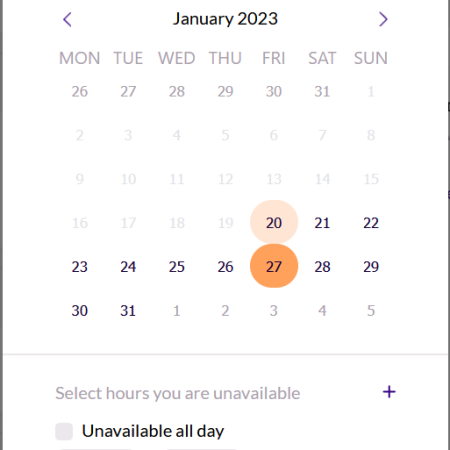
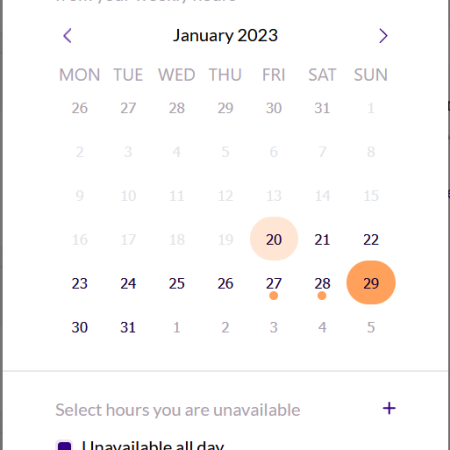
To create overrides click on ‘Add overrides’ and navigate in the calendar to the right day. Then you can choose either of the following two options:
-
Select hours you are unavailable ‘+’
-
Unavailable all day
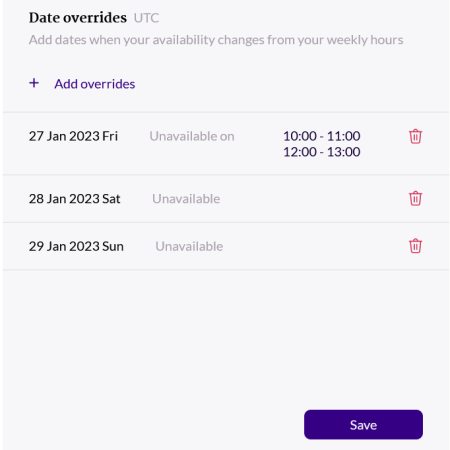
If you have selected the first option, you can enter the times you will not be available. You can even create multiple time slots in one day if necessary. If you need the whole day off, simply check the box and you are done. You can continue straight on from day to day until all your overrides have been set.
Click ‘Apply’ to close the pop-up and then click ‘Save’ under ‘Date overrides’ to Save the changes.
